How to Set Up a Passkey on Your Google Account and Go Passwordless

A year and a few days after Google declared that passkeys will be available, the concept of a world without passwords is beginning to take shape. We mean it when we say things slowly. Even though it’s taken some time, major computer companies like Apple, Microsoft, and Sony PlayStation have released or stated that they will support passkeys. Nevertheless, we’re pleased with the progress that has been made in just a year.
Although Google includes a password manager in the Chrome web browser, some people might not trust the search engine giant enough to give them all of their passwords, or they might have a password manager of their own that they prefer to use. Either way, password management isn’t always easy. Passkeys allow you to sidestep this by letting you use biometrics to log in.
Because Google is in charge of the push, passkey setup is simple. We’ll walk you through setting up a passkey to access your Google account below. See how to properly clean your Macbook and how to extend the battery life of your iPhone for additional tech-related advice.
You cannot use Passkeys unless you fulfill the requirements.
Depending on the device you’re using, you must fulfill these requirements before you can set up your Google passkeys.
- For mobile devices, you must be running at least iOS 16 or Android 9.
- For your computer, you must be running at least MacOS Ventura or Windows 10. Also, your web browser must be at least Google’s Chrome 109, Apple’s Safari 16 or Microsoft’s Edge 109.
How to use Google to configure passkeys
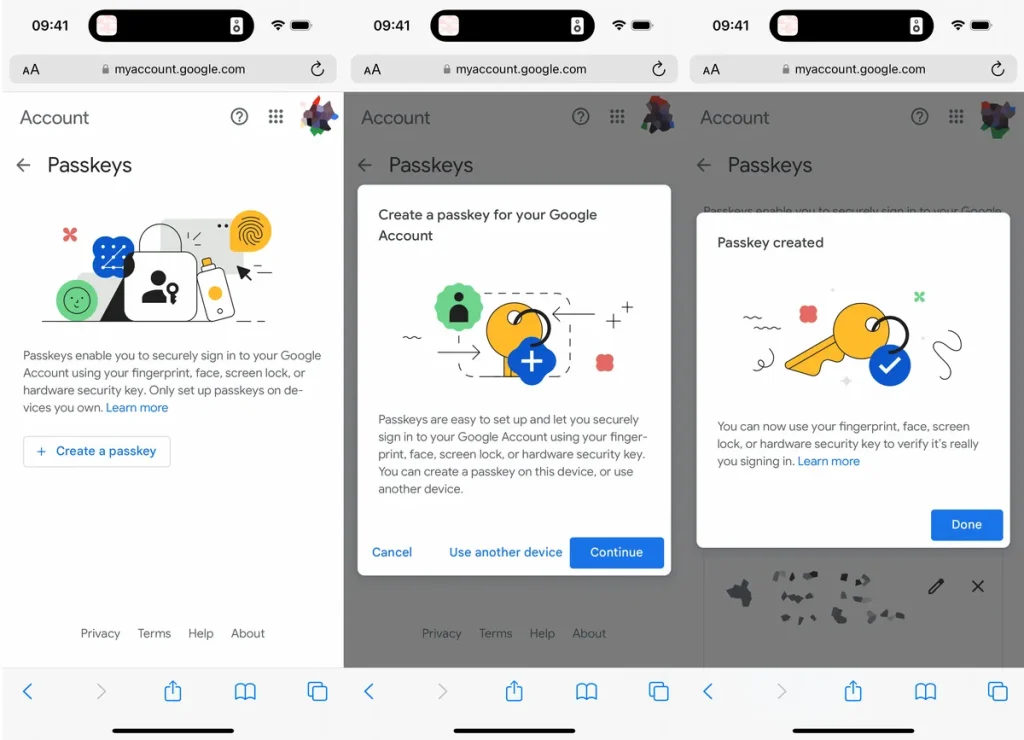
Go to g.co/passkeys on your computer, tablet, or phone using your preferred online browser. You’ll be prompted to enter your usual password to authenticate yourself if you’re already signed into your Google account. Tap the email that is currently open to select from all of your other Google accounts if you need to switch accounts.
Now, when asked, enter your password and click Next. You will be prompted to generate a passkey on the next page. Click Continue when the pop-up window shows up. Depending on your device, the passkey will be saved to iCloud Keychain on iOS or another location.
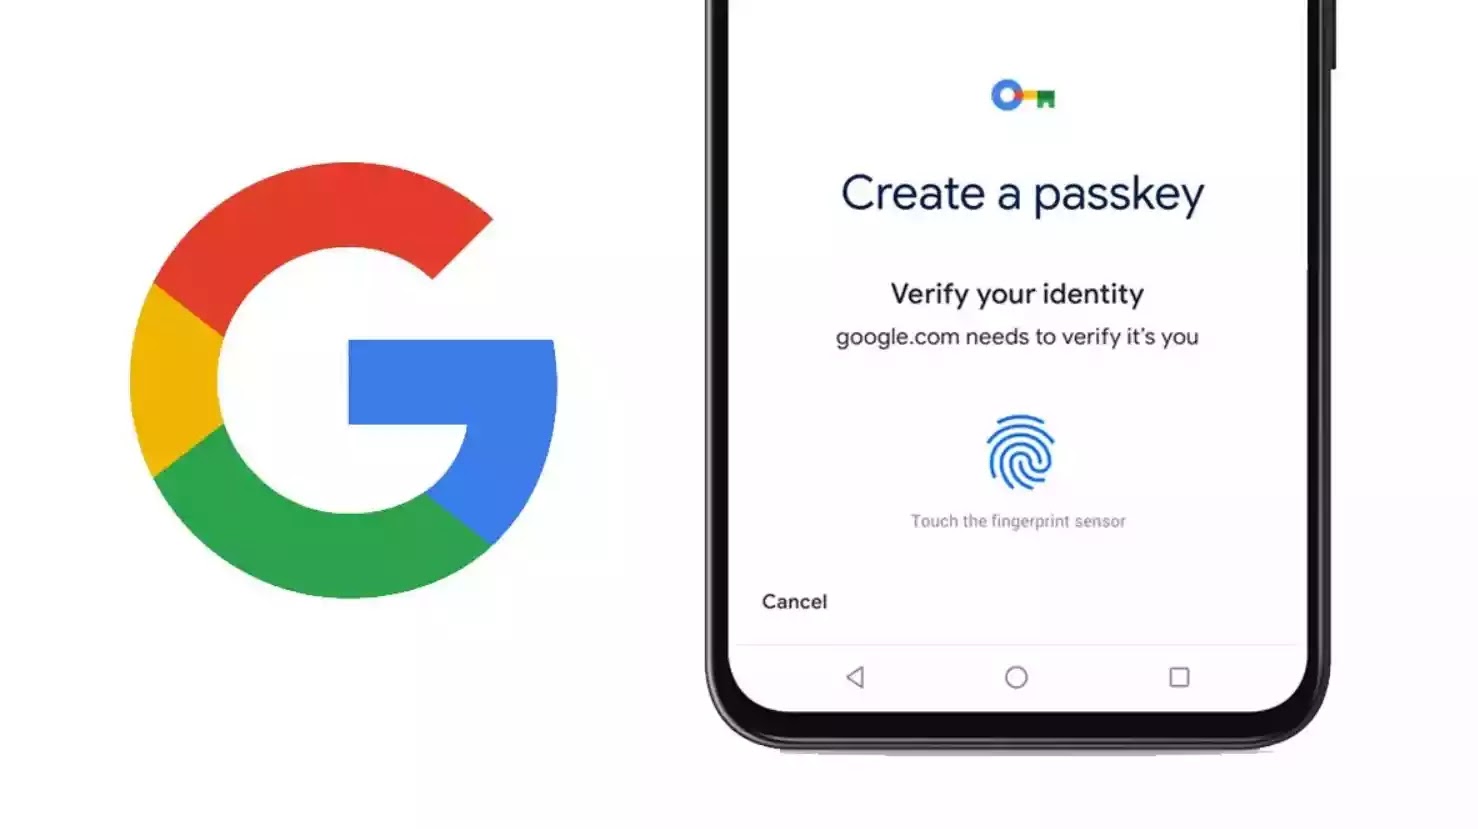
To verify your identity, you’ll need to utilize the biometric your device requests and adhere to any instructions it may provide you. Your passkey will then be generated for that particular device.

Note: Although you can use an external security key or tablet to establish a passkey, creating one on the device you’re using is the most straightforward choice.
Your passkey can now be used to access your Google account. Your passkey circumvents 2FA if you have two-factor authentication enabled because 2FA basically requires that you physically own your phone. Additionally, you may always use your password to log in if you don’t want to use your passkey for any reason.
Have you misplaced your passkey-equipped device? You can rely on Google.

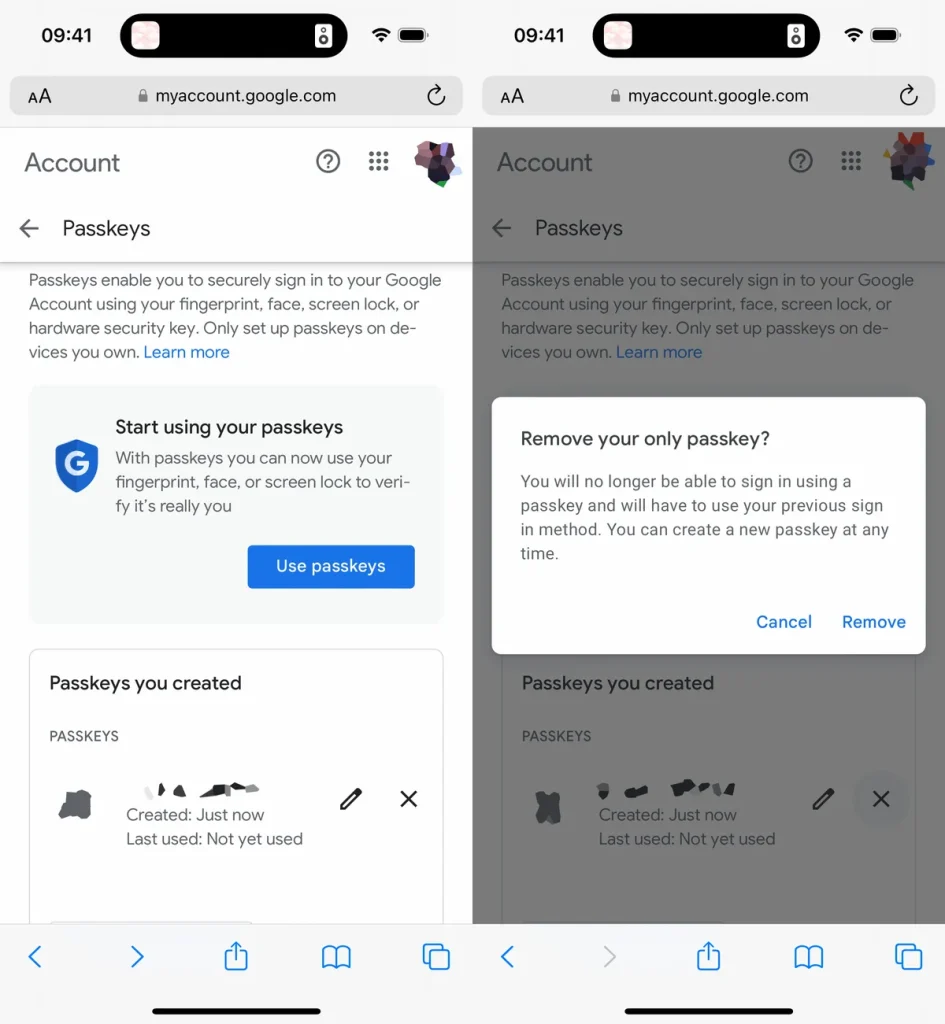
You may still access your Google account even if you misplace or have your device stolen. Making use of an additional device that is linked to your Google account: Proceed to g.co/passkeys, log in with your regular password, and take out the passkey linked to your misplaced or pilfered gadget. To remove the passkey and resume using your password, simply click the X next to it and select Remove.


